

How to get a free .tech domain, connect it to GitHub pages and get a free SSL certificate


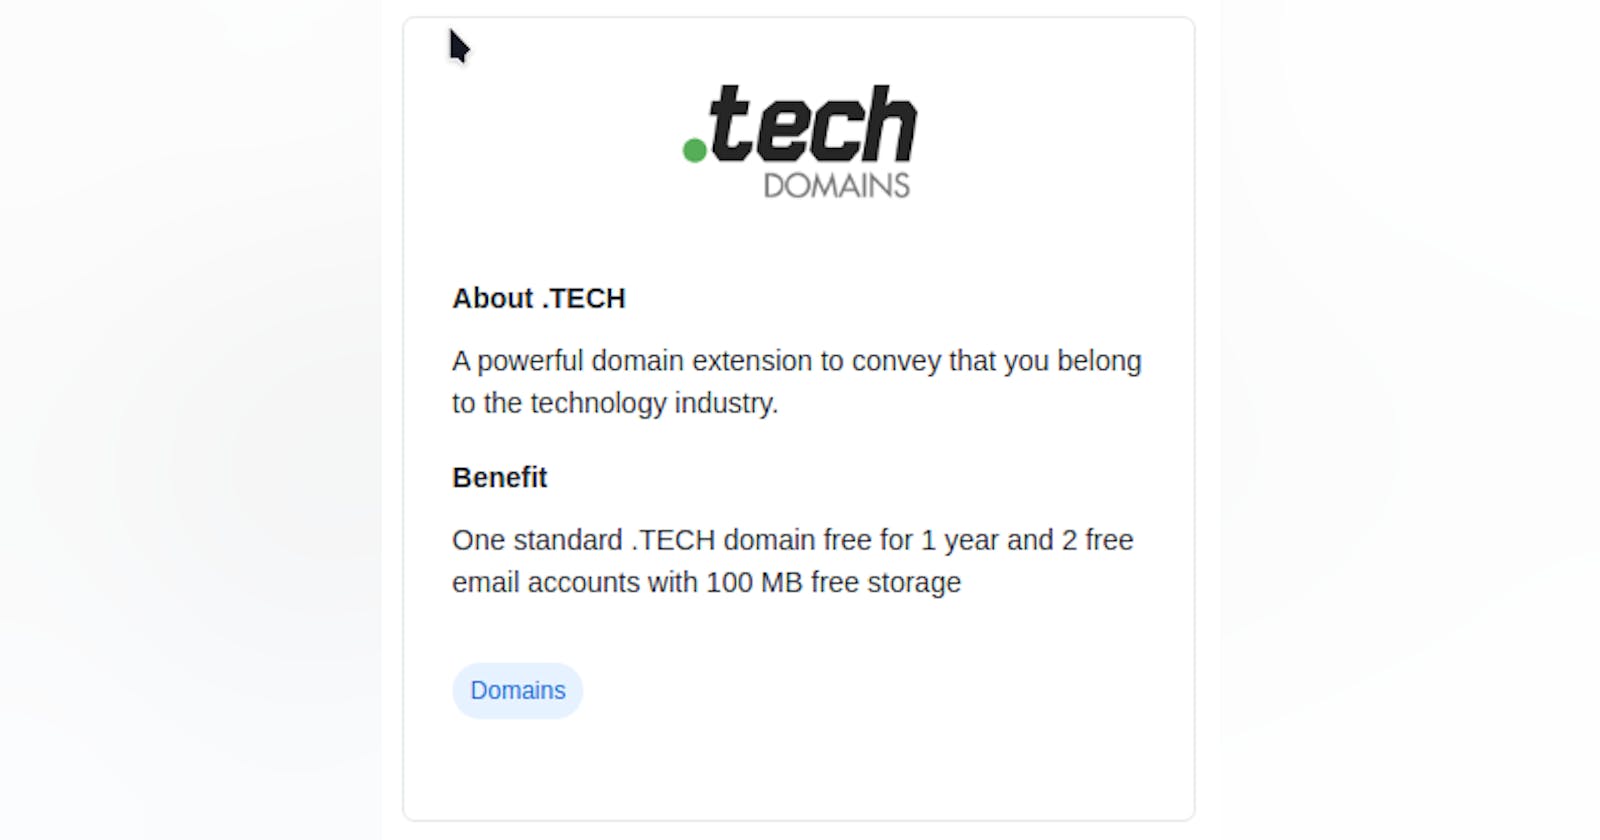
.tech domains are excellent personal domain names for developers because they basically put up your tech role upfront without even having to open your website. You can get one for free (for a year) by signing up for the GitHub Student Developer Pack here
After you've received the confirmation for the student developer pack, head over to get.tech and find a domain you like. During checkout, just authorize with your GitHub account to get the license for free for a year.
Setting up the custom domain
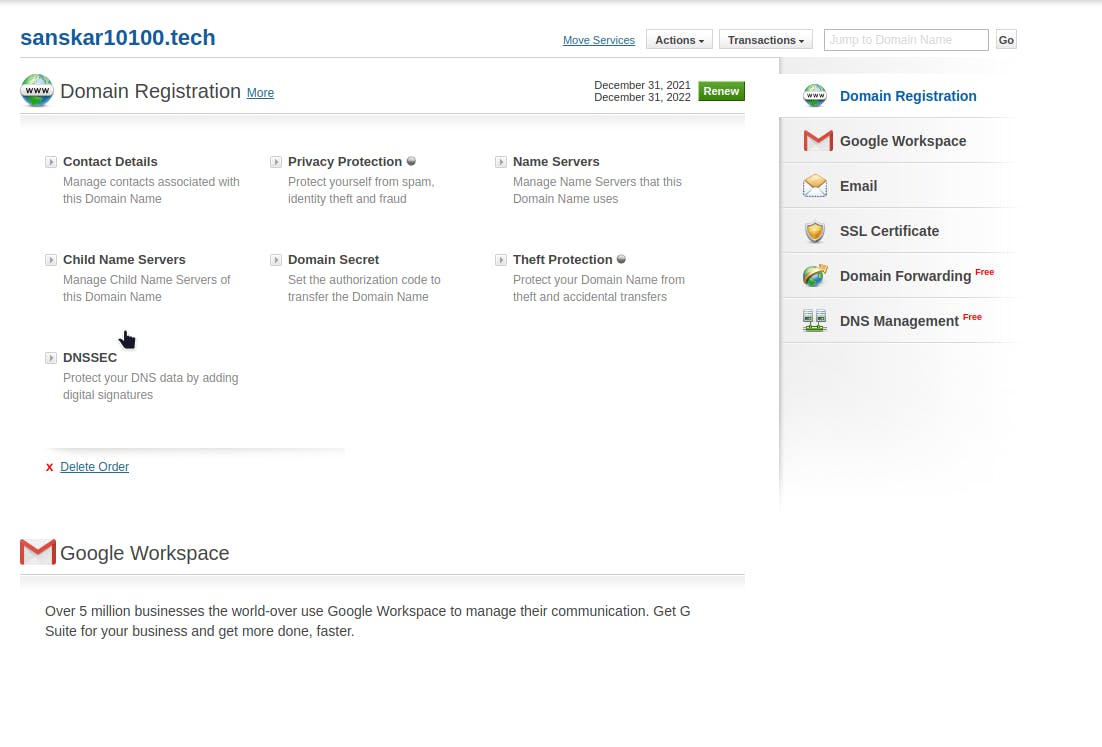
After you get the domain, you'll be redirected to the console. It'll look something like this:
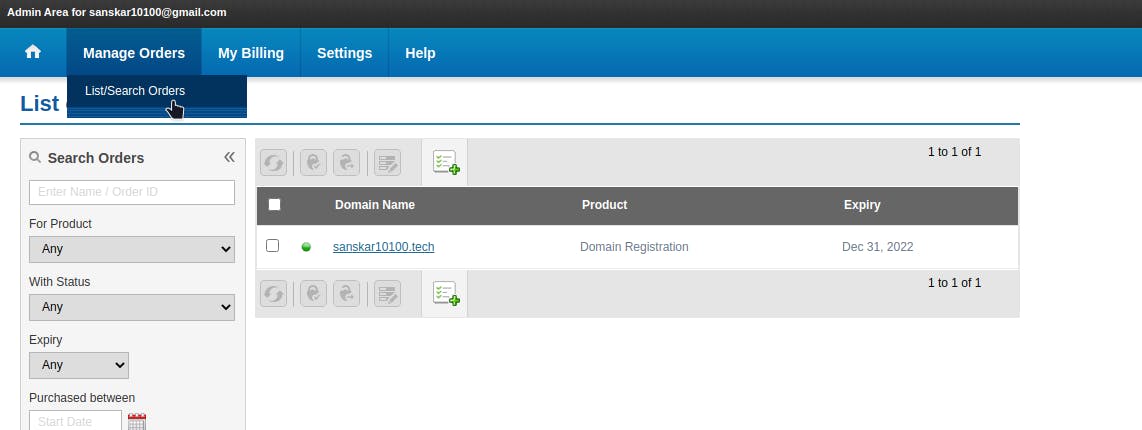
Open up the list of orders, and navigate to your recently availed domain name. It'll look something like this:
Now, to connect your GitHub pages website to this domain, you need to head over to this document: docs.github.com/en/pages/configuring-a-cust..
The document is a little complex, so in short, you'd want to follow these steps to link your domain name to the GitHub Pages server:
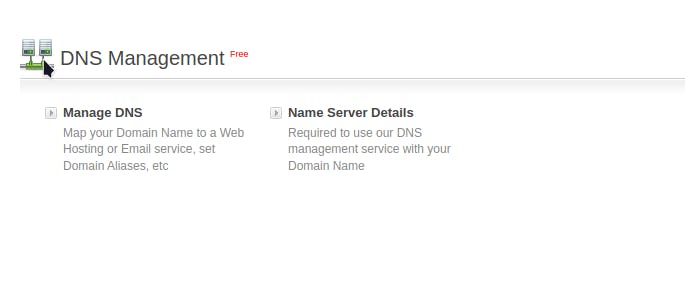
- Find the DNS Console
- Add a CNAME record. Put
wwwin the name field, and your GitHub pages domain in the value field. Leave the TTL at default. After configuring, your CNAME should look like this: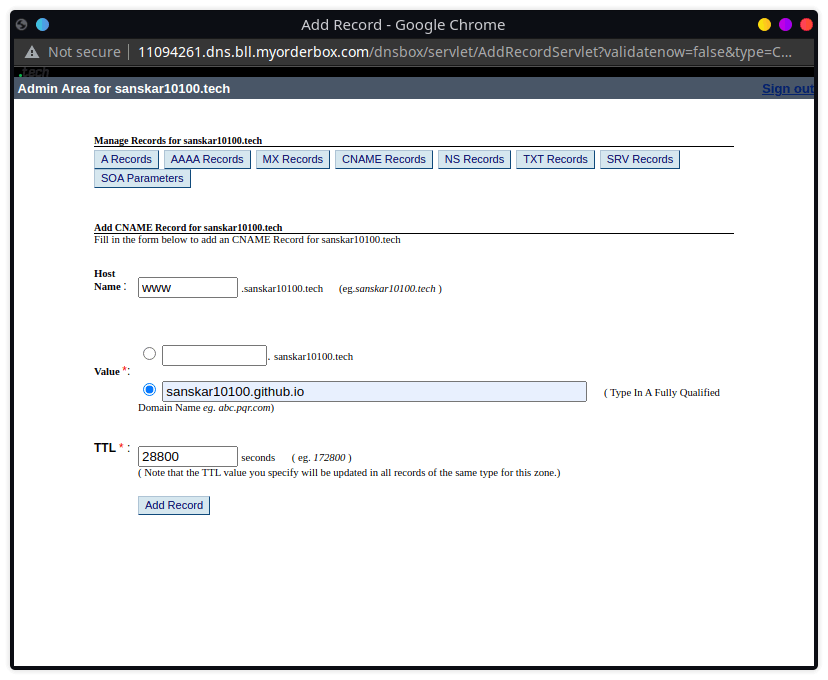
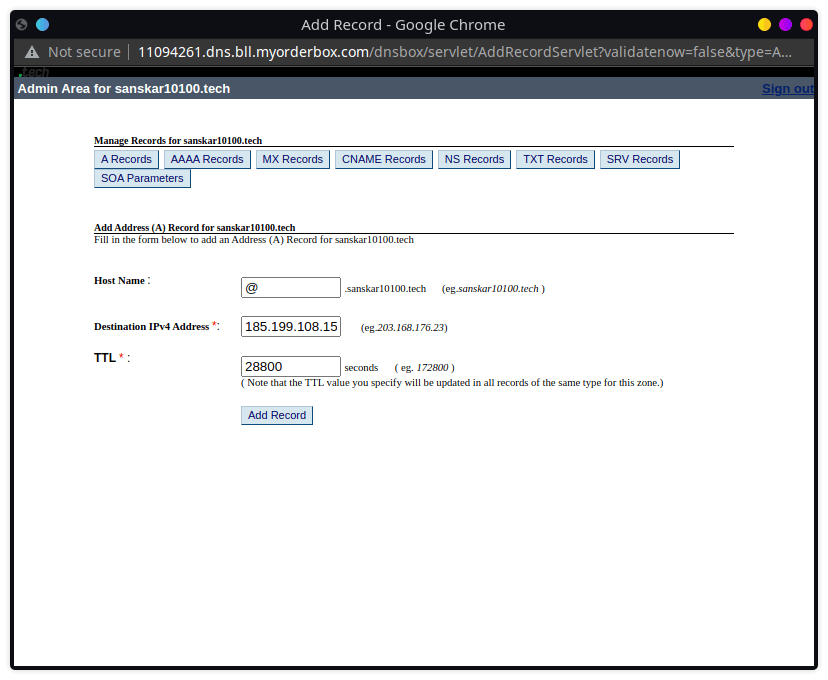
- Add a total of 4 A records from the same panel. In all A records, put the hostname as
@orwww. Leave the TTL at default. In the destination IPv4 addresses, put the following 4 IP addresses sequentially (one IP address in one record):185.199.108.153 185.199.109.153 185.199.110.153 185.199.111.153
Each of your A records should look like this:
 When you're done, you should have this list:
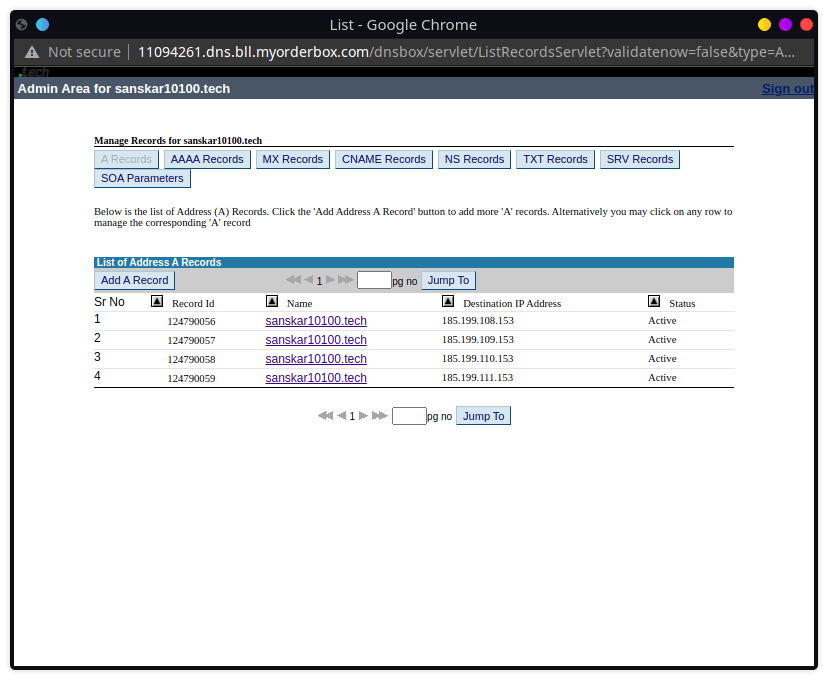 Note: These IP addresses may have changed. Consult this page for the latest addresses.
- It may take some time (up to 72 hours) for the new DNS to propagate. Head over to your GitHub page settings, and add your custom domain. If GitHub can verify your domain, you're all set up, and can now use your custom domain. If not, then you're gonna have to come back later.
To Obtain the free SSL certificate from CloudFare
- Sign up for a Cloudflare account.
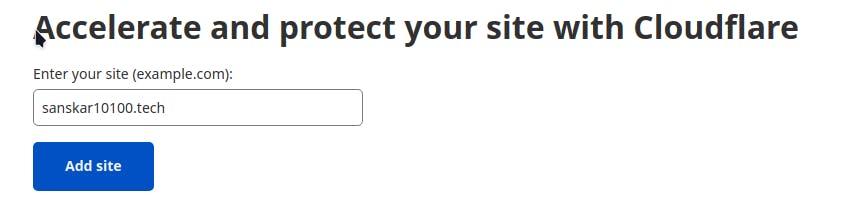
- Register your custom domain, as below:
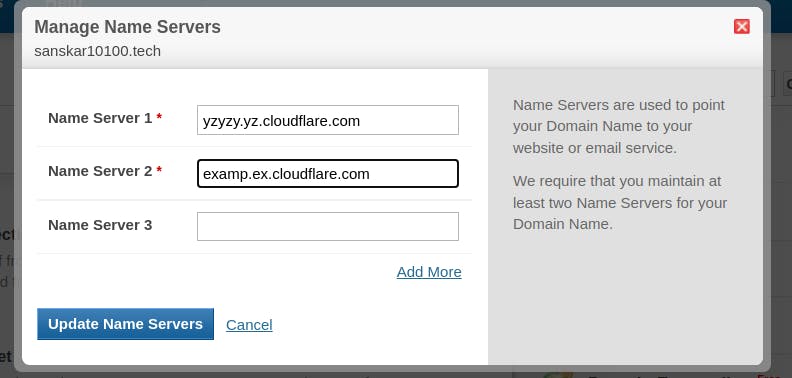
- Now you will have to use CloudFare's nameserver for your domain. Cloudflare will provide you with 2 auto-generated nameservers for your domain. Copy them.
- Head over to the domain management console, and open up the nameservers option:

- Update the first two nameservers with the ones provided by CloudFare, and delete the rest:
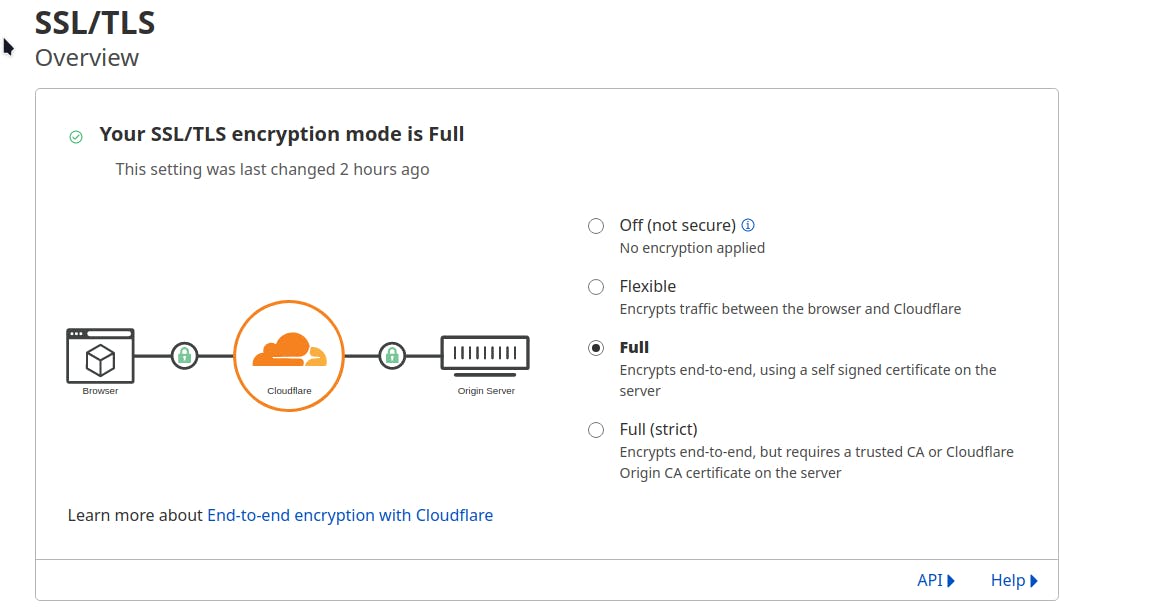
- After you've updated the nameserver, it may take up to 4 hours for you to receive a mail from CloudFare about successful website addition. Once that's done, open up the Cloudflare console once more, and head over to the SSL section.
- Enable Full SSL/TLS
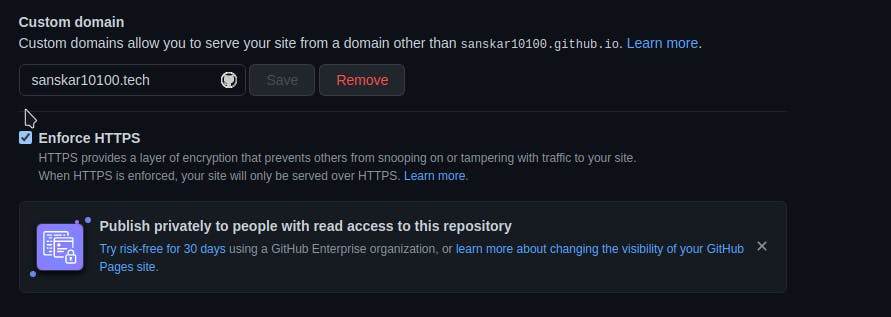
- Enforce HTTPS from GitHub Pages settings:
That's it! You just connected your free for 1 year .tech custom domain to your GitHub pages site and got a free universal SSL certificate!